I was doing so well with my personal challenge of 52 weekly layouts with pictures… then the kids went back to school! Life spun out of control and I know that everyone can appreciate what I’m talking about. Not only did the kids go back to school but I started to move into my new scrapbooking room!
So today I’m sharing with you a video of my work in progress scrapbooking room. Check out what I’ve done here all with Ikea and CTMH products. I’m so in love with the Workspace Wonder line. CTMH nailed it with what I was looking for. I was waiting for these items to be in stock to work on organization. I promise I’m going to get back to my challenge but it may take some time before I can access all the things I want to. In the mean time check out my video. Please like it and feel free to share so everyone can see how awesome these products are!
Head straight over to my website to order your Workspace Wonder organization pieces today! I used the Ikea Pax system for the wall cabinets and the Kallax system for the center table/bookcase combo.
Week #6 of my layouts. I’ve made it over a month now! I’m so excited because I’ve been dying to scrapbook this sweet photo of my kids and use this stamp set I’ve had. So happy that I could use both together!
This week I’m combining challenges again. For the Color My Heart Color Dare challenge I had to use the Florence colors. If you love these colors make sure you head over to my website today to order because this paper packet will only be available until August 31!
I’m also entering the Lasting Memories Layout Challenge. The theme of this month is color and I created this layout for their Rainbow themed challenge. The only color I didn’t incorporate was purple, but I did use a rainbow in the layout.
Here’s my layout:
It’s a little hard to see in this picture but the paper has a swirly dot pattern. Click the picture and see it in a larger format. Let me know what you think by leaving a comment below. Also make sure to subscribe so you can see what I’m up to over the next year. You can do that by clicking on my bloglovin link. If you would like to purchase any of the florence items click here. #CTMHFlorence
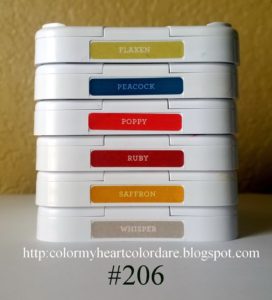
Welcome to my 5th week of completing a layout with pictures! Last week my layout was the Ruby winner at the Color My Heart Color Dare blog. YAY!
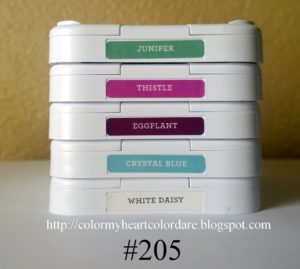
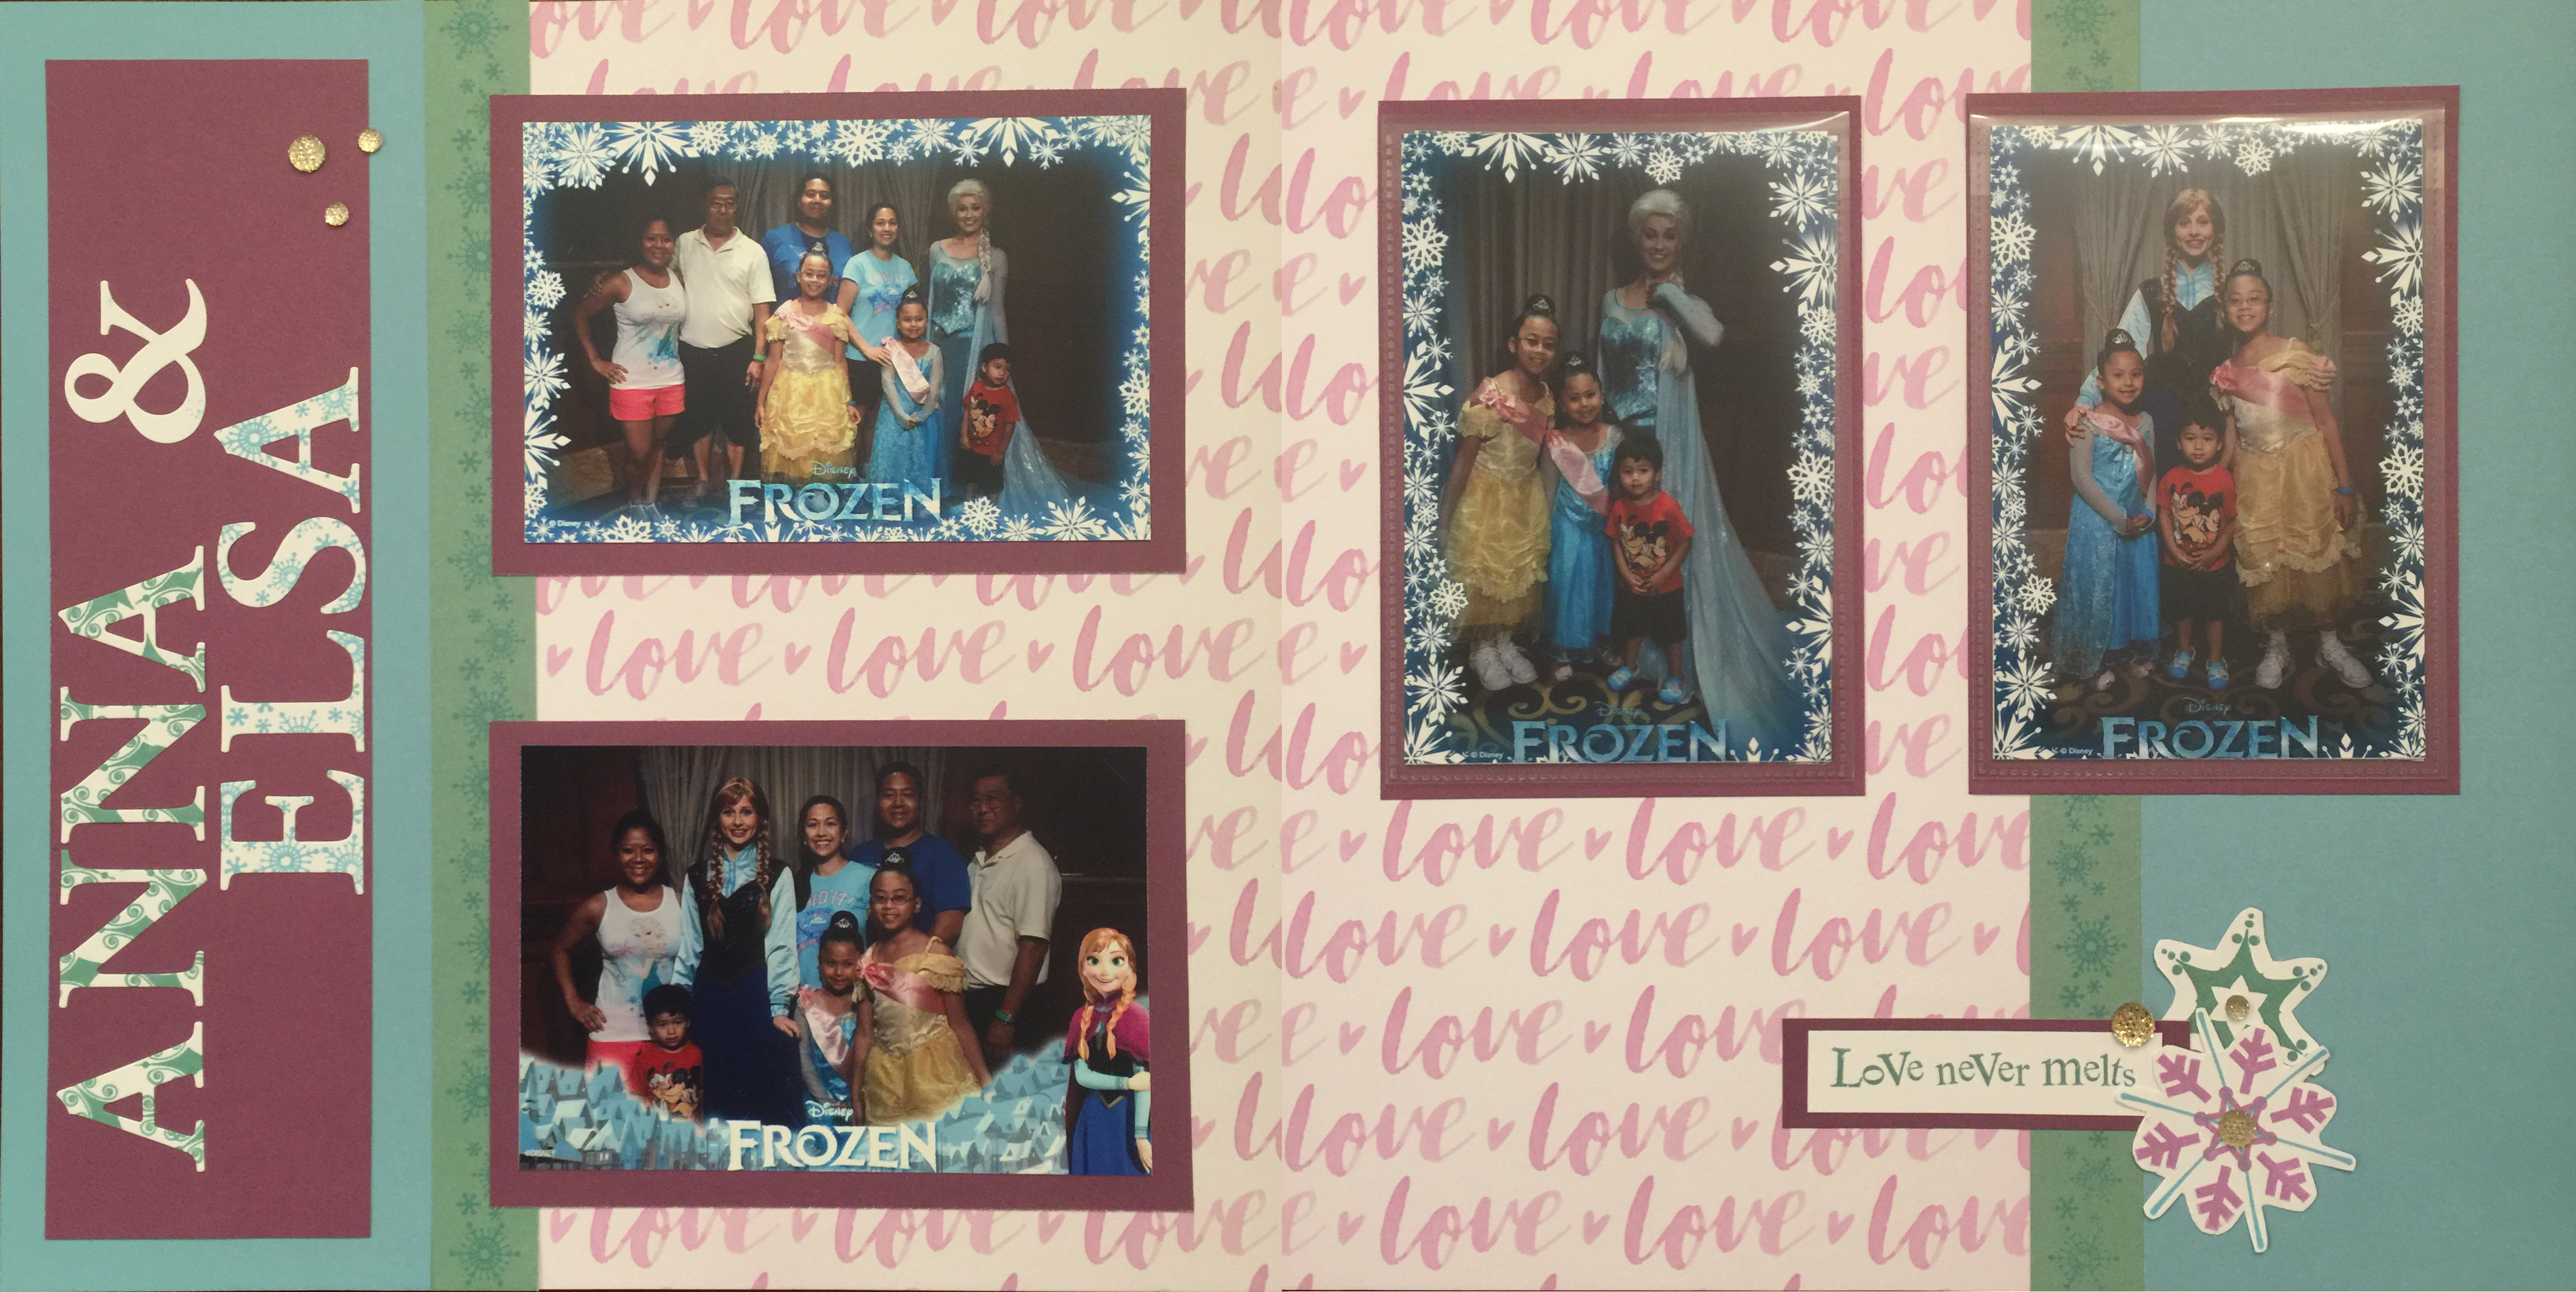
This week the colors are Eggplant, Juniper, Crystal Blue, Thistle, and White Daisy. I was so excited by these colors because I had the perfect pictures! I decided to scrapbook my Frozen pics.
It’s time for my entry into Color Dare #204! This week our colors were Flaxen, Eggplant, and Sweet Leaf. At first I was terrified because I had no idea what I was going to do with these colors. As I thumbed through my pics I came upon some pictures from a 1/2 marathon my SIL and I ran in February 2015. I felt like the purple in my skirt went perfectly with eggplant and loved how the other colors would accent it.
I’ve been dying to do hexagons again and this was also a great change for me to play around with that. I used the stamp set C1626 Hexagonal Patterns Flair and my Artistry cartridge so I didn’t have to cut anything!
I also decided to incorporate Flip-flaps this time because I just couldn’t narrow down our pics from the finish line any further. I love that I don’t have to make that hard decision and can incorporate as many pics as I want. We have a whole assortment of flip-flaps so make sure to check them out here.
So what do you think of my hexagons? Leave me a comment below and don’t forget to subscribe to my blog.
This week is my 3rd attempt at the Color Dare Challenge. The assigned colors were Sorbet, Canary, Crystal Blue, and White Daisy.
You can check out the Color My Heart Color Dare Challenge by clicking the inks!
This week I also decided to participate in another challenge as well which gave me the theme of scrabble! We love scrabble and all sorts of board games in our family so I decided to mix both challenges and see what I could do. You can check out the Scrabble Themed Challenge here.
We had perfect weekend of Fun in the Sun with friends and the little ones were so tired by the end of the day. Shockingly they made it through a full day of water play and then we did some rides.
I felt that this theme captured our day perfectly! I created the “tiles” with a tiny Crystal Blue frame so they would have some extra depth. I wanted to the pics to really pop but also give you the feel of a Scrabble tile so I double framed them. To help me I used my Cricut Artbooking Cartridge to create the sun bursts. You can order your cartridge by clicking here.
Thank you so much for checking out my layout! Please subscribe to my blog and follow me on my journey by clicking on the Bloglovin link. You can also pin my layout and share it on Facebook. See you all next week!
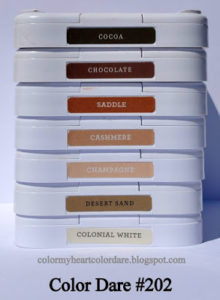
Week 2 of my year long scrapbook challenge! This week the color dare was to use various shades of brown. When I saw these colors I immediately thought of my dear friend and her puppy. These pics and the scenery are perfect for browns. For my layout I used all the colors except for dessert sand and champagne.
I used our amazing Cricut cartridges to create this. I used the Cricut Artistry cartridge to create almost everything. The “Little One” title came from our Artbooking Cartridge.
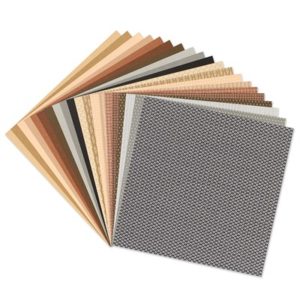
To frame the pictures I used our Fundamentals Basic Package. If you zoom in you can see the little accents in the paper on my layout. It added the perfect little something to brighten up the picture. Make sure to order yours soon because it’s retiring July 31 and is while supplies last!
Here are the colors I had to choose from this week. Check out the Color Dare Challenge and join me on my own personal challenge!
Thanks so much for checking out my layout and Color Dare entry. Please take a second and subscribe to my blog. Help keep me motivated and going through this year! Plus you can see all the neat stuff I’m going to crank out.
It’s been far too long since I’ve posted anything here! I’ve found a blog challenge that I’ve decided to participate in. I’m setting a goal to participate every week for a year. I know that we all have trouble keeping up with our scrapbooking so who wants to do this with me? Join me over the next year and together we will get at least 52 layouts done by completing this challenge! You can always just stop by here every week and check out my entry.
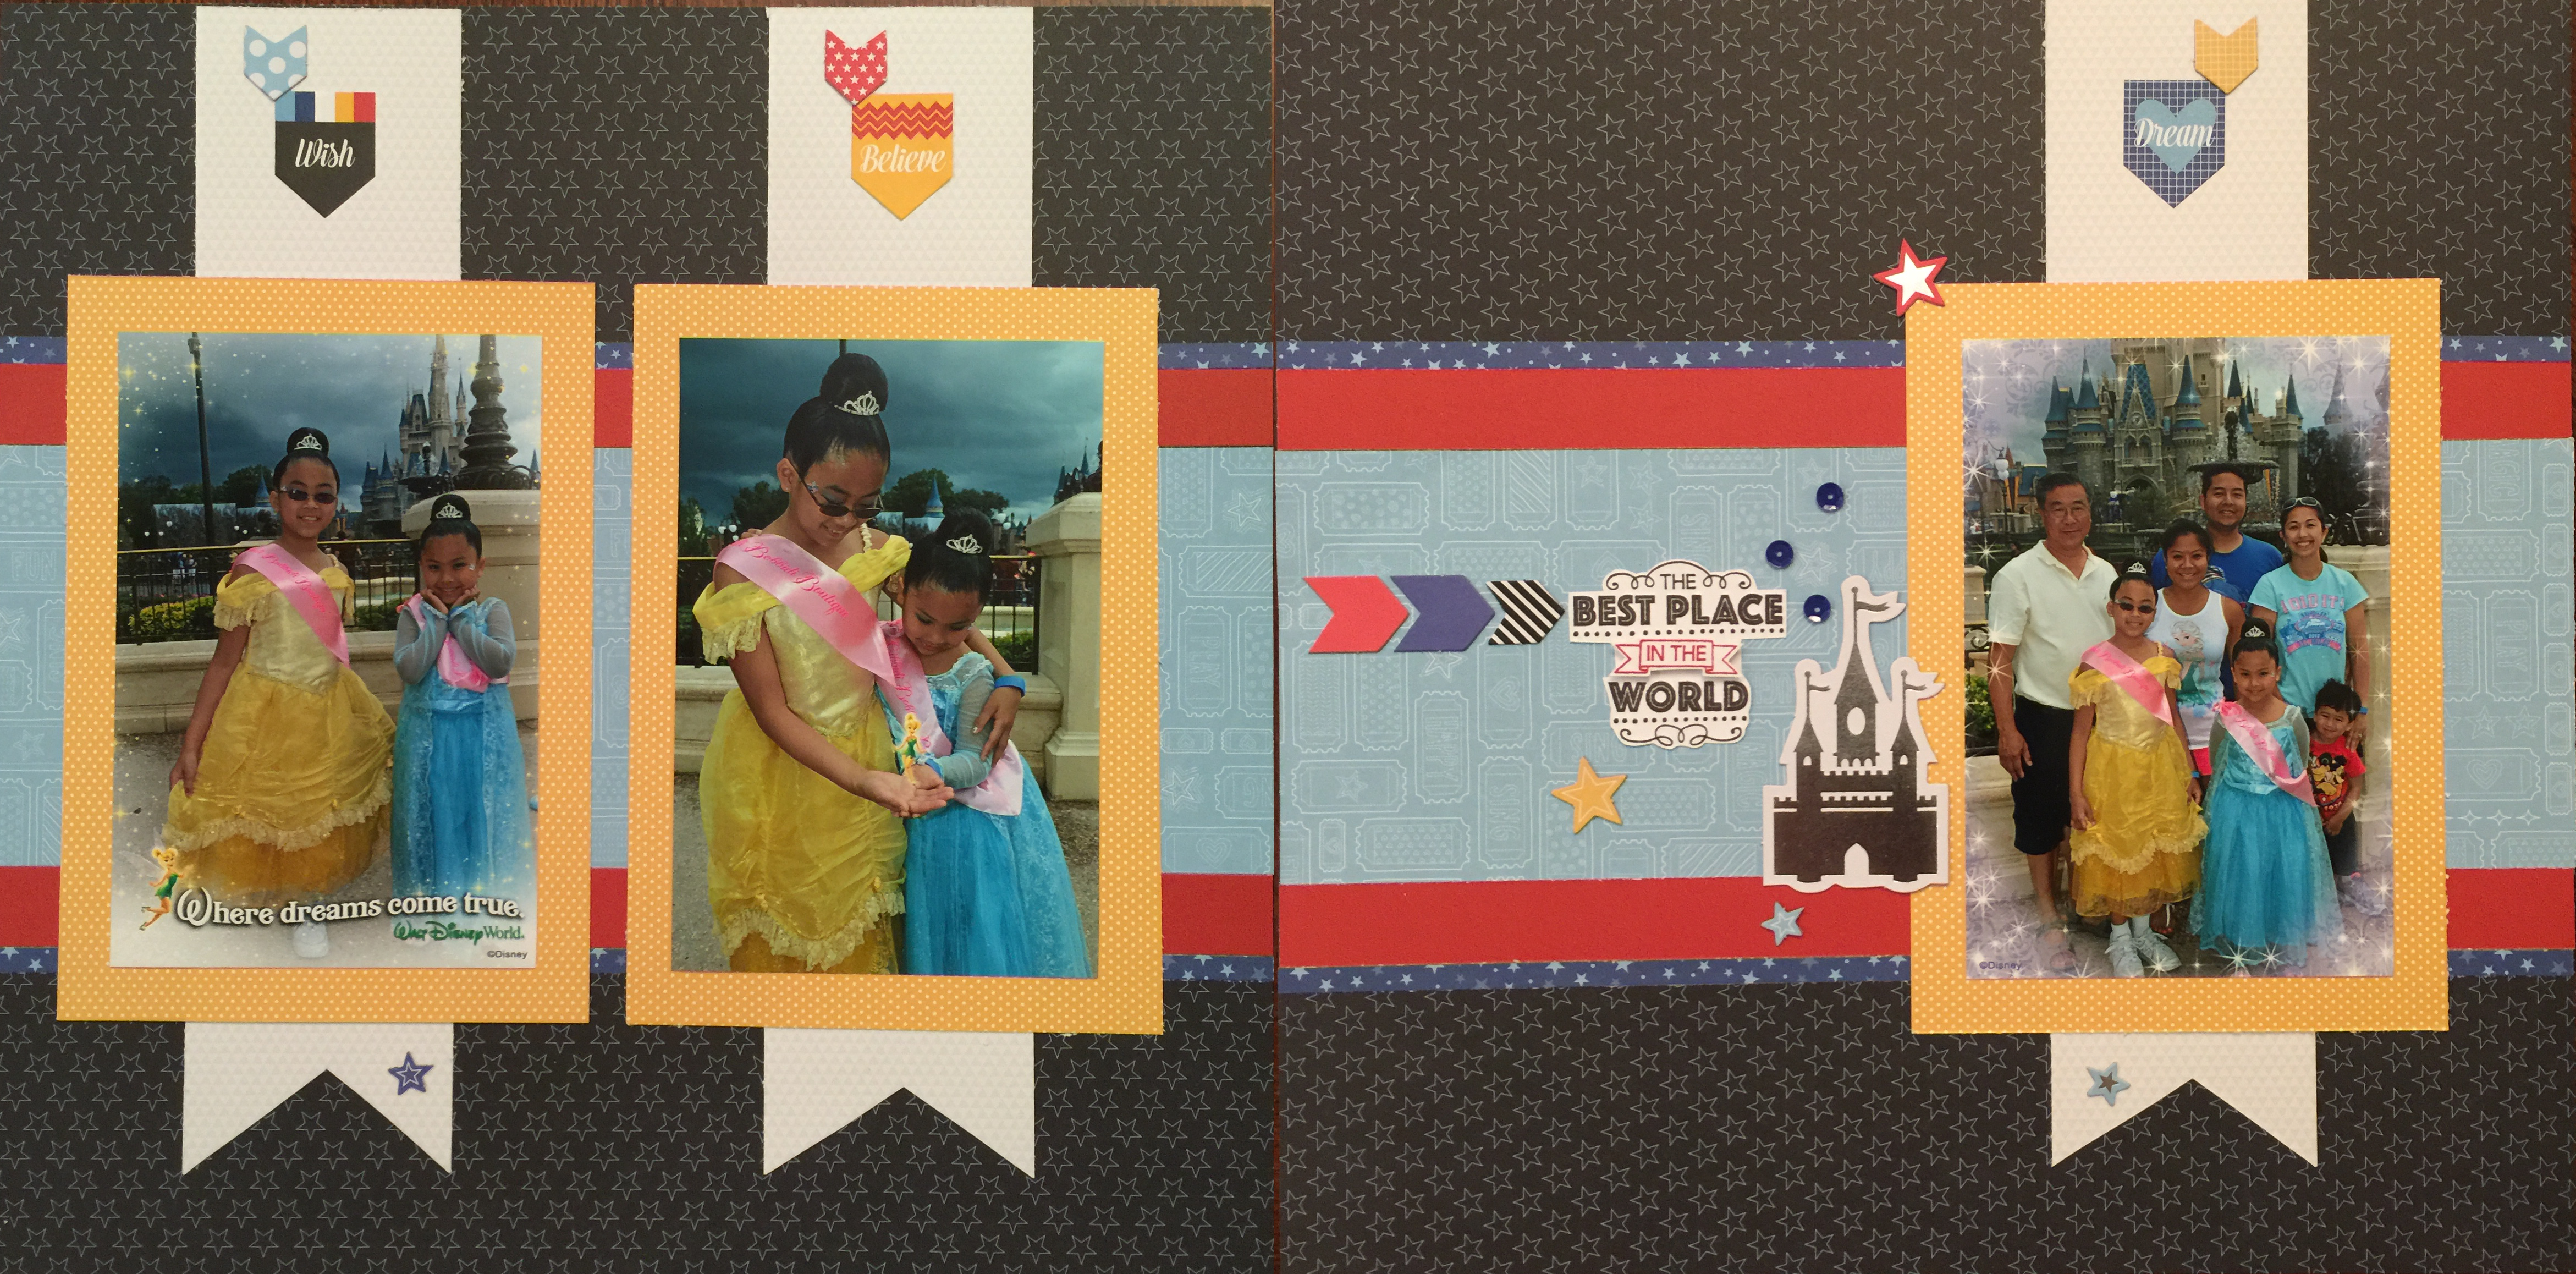
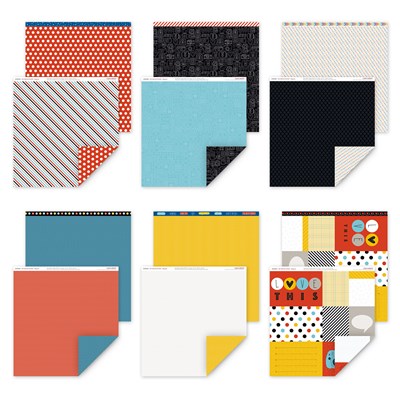
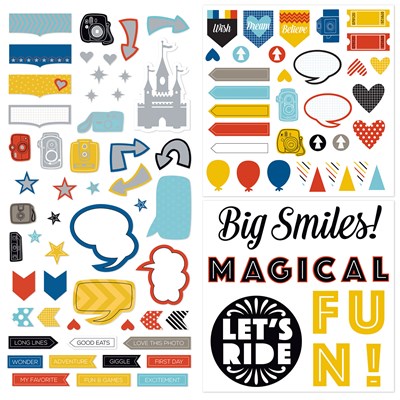
This week the challenge is to use CTMH Magical paper packet colors. It’s perfect for me because we have TONS of Disney photos. I plan on completing more layouts with this paper packet but here’s my entry for the challenge. This photo doesn’t do it justice but that’s something I’ll be working on over the next year too… my photography skills.
#CTMHMagical
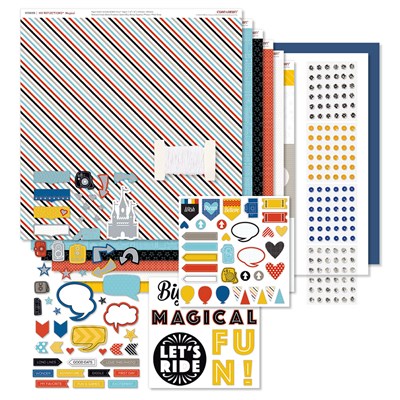
I used the Magical Workshop Your Way Kit to make this layout.
You can also buy the pieces separately. Click on any of the pics to order them from my site.
Magical Paper Packet:
Magical Complements:
Magical Sequins:
You can check out other challenges at Color My Heart Color Dare and get tons of inspiration!
Last time I showed you my awesome party popper invitation. If you missed it then definitely check it out here Party Popper Invitation.
So we used the heck out of the confetti wishes paper because I absolutely adore it! It is meant for parties and all things fun and happy. Get ready this is picture heavy so you can see it all and really get a feel for how amazing the party turned out.
I started by making two different banners. Of course I used my Close to My Heart Art Philosophy Cricut Cartridge to cut the banners. I cut the first one at 6 inches and cut the round one at 4 inches. For the round banner I cut circles to fill in the space and place letters on them. I used the Confetti Wishes Complements to decorate the spaces.
Ler’s take a look at our candy table. You can see we have balloons up but I didn’t get a good picture before we took everything down. They have confetti in them! I took clear balloons and put about a TBSP of store bought confetti in them. Then I filled them with helium. The kids loved shaking the ones that I left close to the ground. The more confetti you put in the heavier it is and might actually stay on the ground for the little ones.
I used our Close to My Heart Artiste Cricut Cartridge to make the cupcake holders and ordered cupcakes from Sam’s Club. They had my husband’s favorite whipped topping icing and I asked them to put the “large circle sprinkles” on top. I found polka dot sticks at Hobby Lobby and used them to make special sprinkle covered marshmallows. We dipped them in chocolate and then rolled them in sprinkles. This one was a little tough since my kitchen was a little hot that day. I also took strawberries and topped them with cream cheese icing and sprinkles.
I even made little placemats for everything to add some pizazz to our decorations. I love to do this because it’s so easy with our Artbooking Cricut Cartridge. I just used the overlay function to cut out fun shapes.
I even made some cute messages for the adults to enjoy on the candy table. I had been waiting for the perfect time to use this stamp set! We bought chocolate bars from Ikea and I covered them in cardstock. I was going to stamp something on the wrappers but I ran out of time. They still added a bunch of color to our table.
My favorite overlay was for the M&M bowl. I love our glitter paper because it cuts so easily and doesn’t separate like others I’ve tried. We even had the M&Ms personalized and laid a few out and used them as decorations.
We had the Kona Ice Truck come which was a hit because the kids can reach their own flavors.
Another highlight of the party was our cotton candy machine. I used the Confetti Wishes cardstock and made a flower holder to use as a cotton candy cone. I used the Art Philosophy Cartridge. This cotton candy machine was really neat because you just put a jolly rancher in the center and the cotton candy actually had flavor! Many guests commented that this was the best cotton candy they had ever tasted.
You know how you end up with so much unused paper when you cut things on the Cricut? I knew that I wanted to do something with the scraps so when I couldn’t cut anything else on the sheet I would have the machine make ½ inch circles. Since I had all these scraps I decided to make confetti throwers. This was a great way to end the party. I decorated out treat tubes and used our gold bling to decorate the lid. We gathered the kids together and threw it in the air for a neat picture.
There you have it… an insanely fun Confetti Themed party. Please make sure you like this post and share it! Don’t forget you can also follow my blog. Want to throw this Confetti Wishes Party for yourself? Make sure you head over to my website to order everything before this paper pack runs out of stock. Head over to my site by clicking here!
Last year year my daughter turned 5 years old. She told me that she wanted the theme to be a surprise and I kept thinking about it. Finally when I received the new Close To My Heart Annual Inspirations Idea Book I knew exactly what my theme would be… CONFETTI WISHES! What 5 year old girl doesn’t love confetti?
I started with the invitation but I didn’t have all my new products and had to improvise a little. I found a tutorial on how to make these but I felt like the instructions made it harder than it had to be so here’s a simple party popper invitation!
Here’s a list of all the things I used:
B1440 Fancy Fair Stamp Set
Spring Loaded Party Poppers
White Daisy Cardstock
Sunset Cardstock
Lagoon Cardstock
Gypsy Cardstock
Buttercup Cardstock
Gypsy Ink Pad
Pear Ink Pad
Lagoon Ink Pad
Sunset Ink Pad
Liquid Glass
Grey Baker’s Twine
Here’s a picture of the party poppers I used. I found a great price at a local party store.
First you are going to take off the paper top and this is what you would find inside.
I removed the confetti that was already in there so you could see how this works. It uses a spring loaded mechanism that pops when you turn the bottom.
Here is a pic of the stamp set I used for the cover of the tube. It was made to do party invites and already had a nice summer theme. I tried to keep it simple since it’s such a small space I was working with for the cover.
Using my Close To My Heart Artist Philosophy Cricut Cartridge I bulk cut tons of circles. Having the cartridge to do this makes it so easy! No hand strain from a punch. I stamped and filled out all the circles with the party info and then used Liquid Glass to adhere the backs of the circles to the Grey Baker’s Twine that was about 18”
I removed all the wrapping that was already on the party popper. It was lightly taped on so it was very easy to take off.
Next I wrapped each tube with the stamped cardstock. I left all the confetti that came with it because I didn’t want to waste it. If you wanted to really stick to your theme colors you could just randomly cut out shapes from scraps of have your Cricut cut out a bunch of tiny shapes to make your own confetti. I used a good amount of adhesive so that it would stay put.
I then folded up my invitation on a string that I had made and placed it in the top of the tube.
I then placed the label on the top to close everything. I lightly folded over the edges just enough to keep the invitation in place but allow it to pop open.
So now let’s see it in action!
I know it looks like I’m struggling to open this but it really isn’t hard to open it. A bunch of 4 year olds opened them just fine. For me it was like opening a can of biscuits and not knowing when it’s going to pop. So I opened it really slowly.
So here’s what they found inside:
A word of warning for anyone planning on doing these: If you are going to leave them in the kids’ cubbies at school make sure you tell the parents or include a little note saying it will pop open and make a mess. Two of our friends reported that they had to vacuum out the car because they let their kids twist them open on the way home.